I went to Etsy, and discovered that poms are what we used to call tissue paper flowers. Kirsten from Pom Love thought of a new twist and apparently started a craze! To see her store go to http://www.etsy.com/people/PomLove?ref=ls_profile. I remember seeing tissue paper roses at every Mexican food restaurant I went to as a kid. I loved that they were so colorful and GIANT! We used to make them in elementary school and Sunday school for different occasions.
Since I remembered how to make these from when I was a kid, I thought I would share it with you. My niece, Ashlee, is getting married in October, and I am hosting a shower for her along with my sister, Robin. Our colors for the shower are pink, black and white, so I think I will decorate the shower with poms! (can you imagine how cute it will be with Robin's bows and my poms???)
To start, you need about 12 sheets of tissue paper. Lay them out flat and then begin to fold them back and fourth like an accordion, making the folds about every 2 inches. I didn't measure, I just used my best judgement (okay folks it has been a LONG time since I was a kid making these!)


Then trim the ends of your tissue paper with a decorative cut. (fyi, that is the step that makes it a pom and not a paper rose) Cut them round or pointed, let your imagination be your guide. Different edges make for different looking flowers.

Now you are ready for something I call the Playtex bra maneuver, lift and separate. Divide the tissues about half way and pull apart. Then repeat.

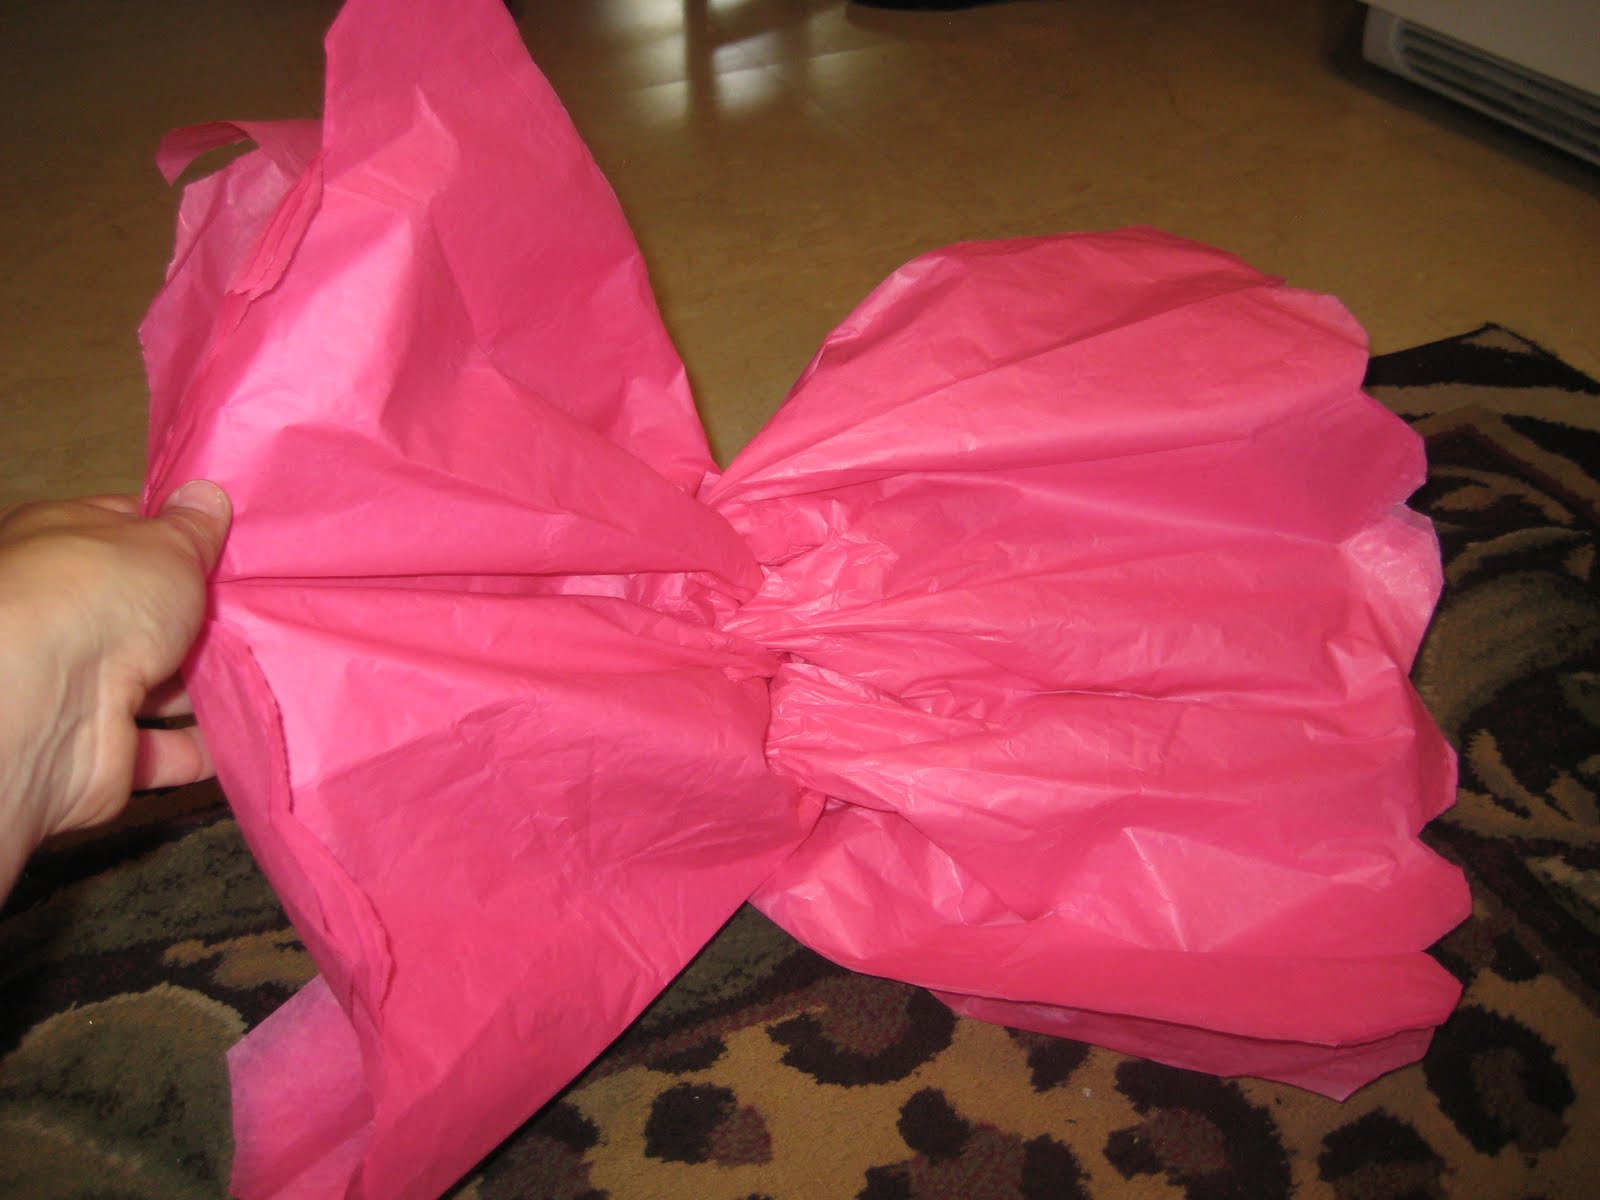
Then just like the Easter Bunny, or any good Texas girl doing her hair in the morning, fluff, fluff, fluff! This will eventually be your end result.

I made a couple of different colors to mix in. This is going to be oh so cute at the shower!

I plan on hanging mine from the ceiling with coordinating organza ribbon. I might also place a few on top of tall candle sticks. I will be sure to post the pictures after the shower so you can see them in action!
Do you have a childhood craft that can be updated? Think outside the box and let your creativity blossom! Take bread dough to a new level, jewelry or bead making maybe? Let me know what you come up with!
HAVE AN AWESOME DAY!
Luvyameanit!
Nee' Nee'
No comments:
Post a Comment