
I am constantly asked to make bows for people, evidentally, that is a big challenge that some folks face. I can't balance my checkbook, but I can make a mean bow!!! So, this is a lesson in bow making. P.S. if you think you are a lost cause, press on, my step-daughter had one lesson and you would not believe how beautiful her gifts looked from that day forward!

$8.00 is A DEAL! Since it takes a lot of ribbon to make a good looking bow, and they only carry the ribbon seasonally, I like to always have extra on hand! Another tip is to mix colors, patterns and textures. I say the funkier the better! (I made that my own after watching my sister Robin mix leopard print with solid color ribbon to create a gorgeous bow). If you are looking for unique or specialty ribbon, boy do I have the place for you. Cindy Jeager is a local in my community and has a wonderland of ribbon. If you are ever able to, I recommend a trip to her shop in Old Town Tomball, Texas. You definitly want to check her out at http://cindyjaegerdesigns.blogspot.com/. She was featured in TEXAS LIVE magazine and this link takes you on a virtual tour of her shop just in case you can't get by! http://www.texasliveblog.com/archives/1278
So after picking your ribbon, (p.s. ribbon with wired edges holds it's shape much better) let's make the foundation of the bow, which are the "rabbbit ears".


This is where an extra pair of hands would come in handy, but I usually just find the nearest item that can hold my layered ribbon in place. In this case, it was my husband's prized autographed Red Sox baseball signed by Josh Beckett. Are you reading my blog yet, Honey?

I followed the same steps with a coordinating ribbon.

I then stacked the coordinating ribbon on top of the original rabbit ears with my handy "paperweight" I held it in place.

Next I cut another piece of ribbon, around 12" long, and tied it in a knot to hold both pieces together, and to form the middle of the bow.


Now you just fluff it up. You take each rabbit ear, pull and twist.

Here is the final product on a bare candle holder I had in my living room.
before

after


Here are other bows that my sister added in my home:
On a picture frame


On a decorative shoe...

On a stand up wine wrack...almost looks like a Christmas tree!!! (oh, p.s. you can only imagine what her tree looks like at Christmas time...GORGEOUS!)

Oh, and I stopped by my mama's house, as you can see, Robin had been there too:
This is an outdoor lantern

A feather wreath hanging by a bow

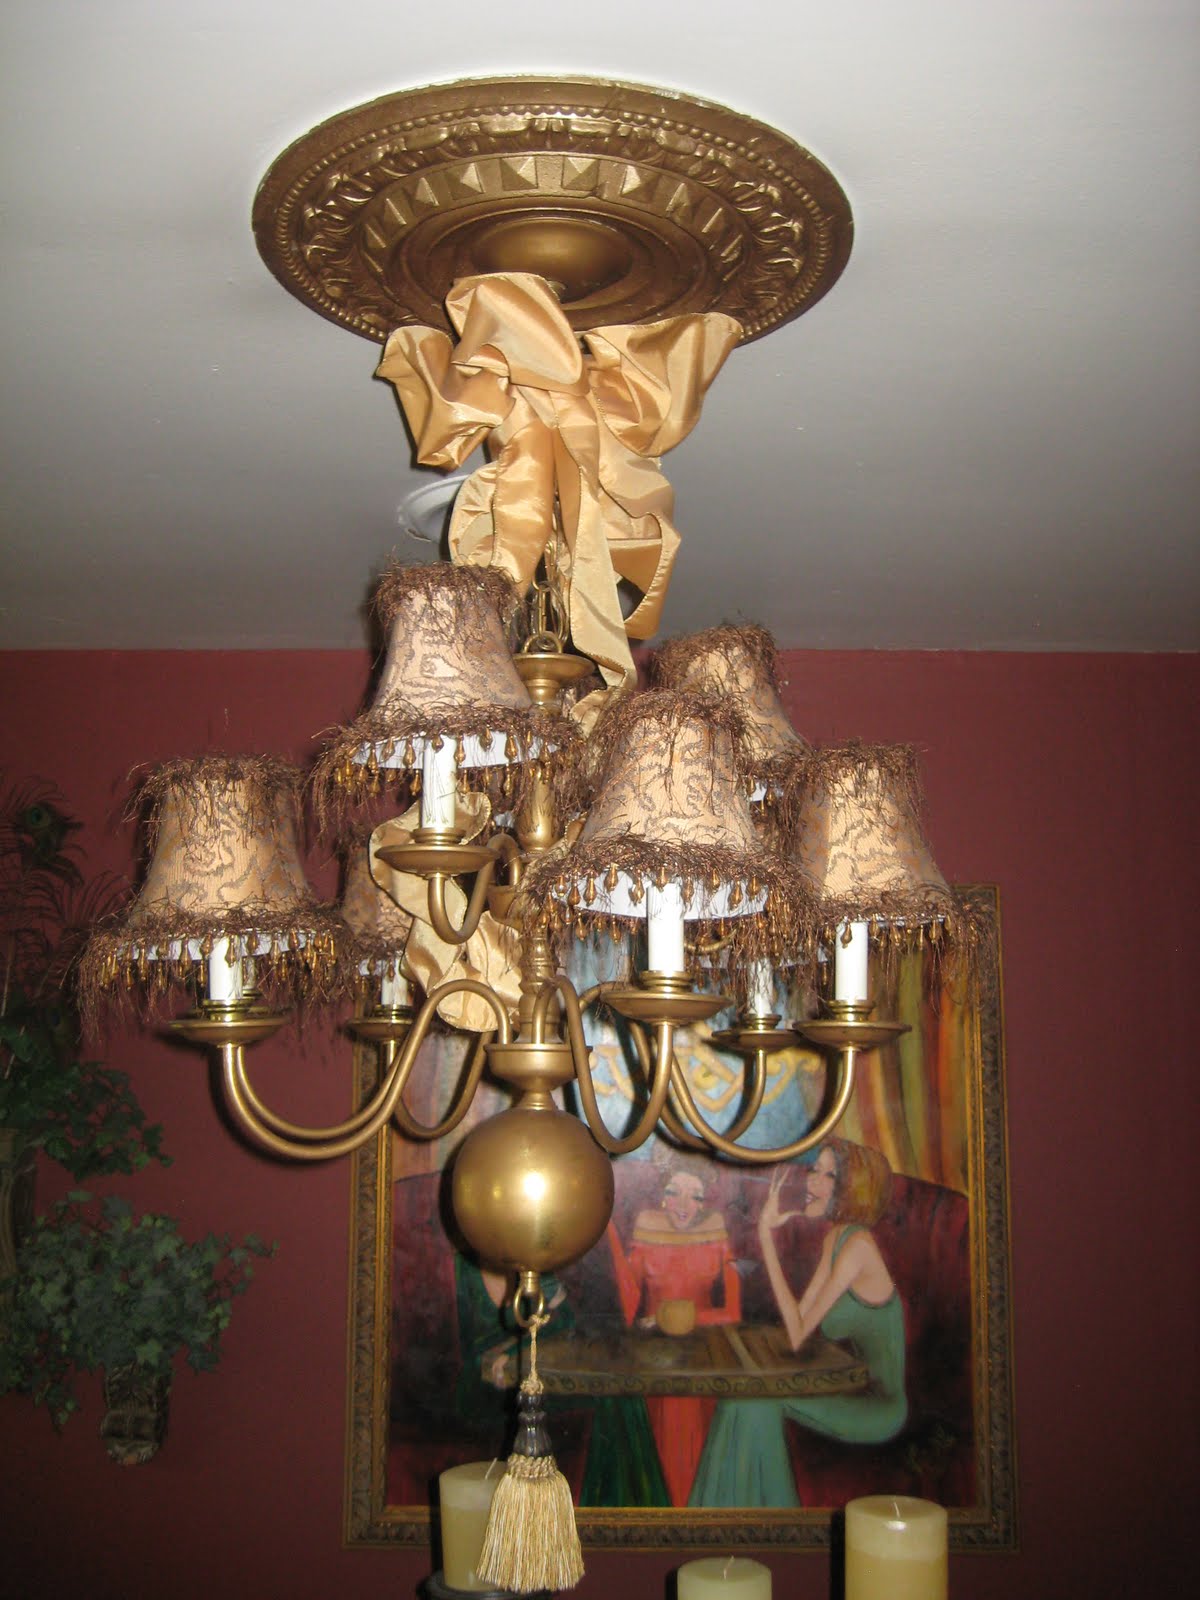
We musn't forget to put a bow on our chandelier! (I mean, how cute and creative is that??)
Okay, and my favorite, I love digital picture frames, but the design leaves a lot to be desired. She added a bow to my mom's and it looks SO DANG CUTE! As you can see, she put a little jewel from an old earring in the middle to dress it up a bit.

As you can see, some bows are fluffier than others. As with anything, add your own touches and make it your own!
If you are still not convinced...my friend Diane purchased something called the Bowdabra to decorate her Christmas tree last year for an annual Christmas party she hosts. She wanted everything to be perfect, and since she was "bow challenged" she went looking for a little help. Well, she found it, because her home looked beautiful! The Bowdabra acts as your extra pair of hands and is a very small investment, so give it a try! Their website is very helpful, it even has a video tutorial. Check it out http://www.bowdabra.com/.
Do you have a bow short cut? Where do you put bows? Are we missing something? Let us know about it!
Have a great day!
Luvyameanit!
Nee' Nee'
All these years in the fam and I've never gotten a bow lesson!
ReplyDeleteWell, you are set now!!
ReplyDeleteHi Renee!
ReplyDeleteCan you tell me what kind of paint you use on candles? I want to try it out and see what that might look like in a hurricane for an inexpensive center piece, but I wasn't sure if there's a special type of paint that sticks to wax...
Thanks!
Jamie
Jamie, I use the same paint that I use on glass so it will stick to the wax. My sister tried using plain acrylic paint and it didn't stick. The two paints are Folkart Enamel by Plaid (it has an E on the top, make sure you get the right one!) or Perm Enamel by Delta. You can find the Delta at Hobby Lobby and you can find both of them at Michael's.
ReplyDelete